Introduction
Microneedling has become an increasingly popular skincare treatment for improving the appearance of various skin concerns, such as wrinkles, fine lines, acne scars, and uneven skin tone. Dr. Pen is a trusted brand that offers microneedling pens for both professional and at-home use. In this comprehensive guide, we will explore how to effectively use Dr. Pen for microneedling treatments, providing you with the knowledge and techniques to achieve optimal results.
Understanding Microneedling and Dr. Pen
Microneedling, also known as collagen induction therapy, involves using tiny needles to create controlled micro-injuries on the skin’s surface. These micro-injuries stimulate the skin’s natural healing process, leading to the production of collagen and elastin, two essential proteins that enhance skin elasticity and texture. Dr. Pen is a leading brand that offers microneedling pens with replaceable needle cartridges, providing precise and adjustable treatments.
Choosing the Right Dr. Pen Microneedling Pen
When selecting a Dr. Pen microneedling pen, it’s essential to consider factors such as speed, depth of penetration, power source, and cartridge availability. Dr. Pen offers various models, including the Dr. Pen A6S and the Dr. Pen Ultima M8. Each model has its own unique features and functionalities, so it’s important to choose one that aligns with your specific needs and preferences.
Preparing for Microneedling
Before starting your microneedling treatment with Dr. Pen, it’s crucial to properly prepare your skin. Begin by thoroughly cleansing your face to remove any dirt, oil, or makeup. This ensures a clean surface for the microneedling process. If desired, you can apply a numbing cream to minimize discomfort during the treatment. Be sure to follow the instructions provided with the numbing cream to ensure safe and effective use.
Using Dr. Pen for Microneedling: Step-by-Step Guide
Step 1: Preparing the Skin and Dr. Pen Device
Once your skin is clean and prepped, it’s time to prepare the Dr. Pen device. Ensure that the device is fully charged or connected to a power source. Open a new needle cartridge and attach it to the pen, taking care not to touch the needle tips. Proper sterilization of the treatment area, the pen, and any other tools or products is essential to maintain a clean and safe environment.
Step 2: Adjusting Needle Depth and Applying Serum
Dr. Pen devices offer adjustable needle depths to cater to different skin concerns and treatment areas. Refer to the needle depth chart provided by Dr. Pen to determine the appropriate setting for your specific needs. Before starting the microneedling process, apply a serum or hyaluronic acid to the treatment area. This helps the needles glide smoothly over the skin and enhances the absorption of the serum’s beneficial ingredients.
Step 3: Performing the Microneedling Treatment
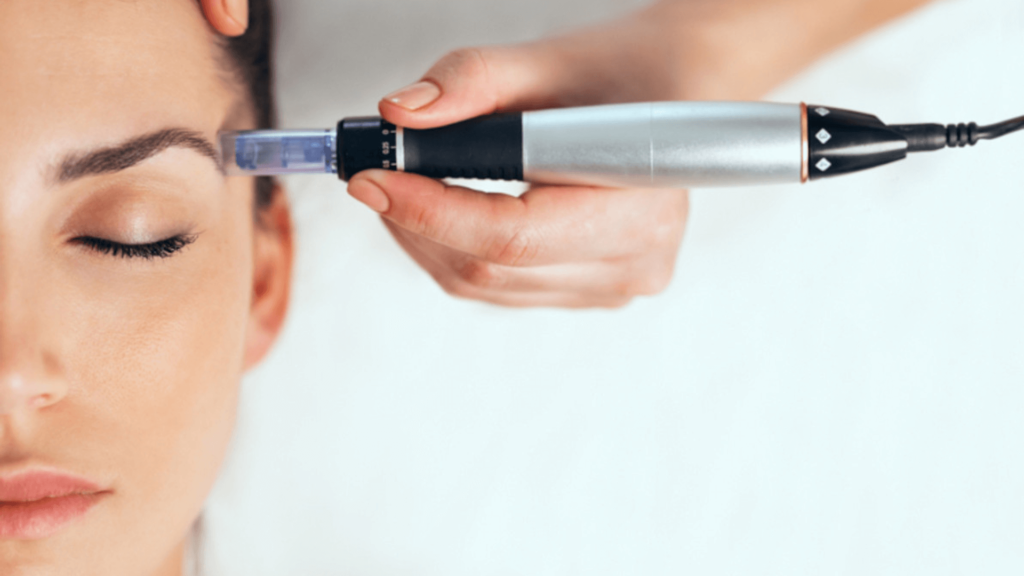
Hold the Dr. Pen device at a 90-degree angle to the skin and gently press it against the treatment area. Start with vertical movements, then move horizontally and diagonally to ensure even coverage. Avoid excessive pressure or dragging the pen to prevent skin irritation. If treating areas other than the face, such as the neck or body, adjust the needle depth and technique accordingly. Remember to work in small sections for better control and precision.
Step 4: Post-Treatment Care and Recovery
After completing the microneedling treatment, it’s important to follow proper post-treatment care to promote healing and maximize results. Your skin may appear slightly red or feel sensitive, which is normal and should subside within a few days. Avoid applying makeup or excessive sun exposure for at least 24 hours post-treatment. Apply a gentle moisturizer or post-treatment serum to hydrate the skin and support the healing process.
Benefits of Dr. Pen Microneedling
Dr. Pen microneedling offers a range of benefits for your skin, including:
- Improved appearance of wrinkles and fine lines
- Reduction of acne scars and hyperpigmentation
- Tightened and firmer skin
- Smoother and more even skin tone
- Enhanced absorption of skincare products
- Stimulated collagen and elastin production
Safety Considerations and Precautions
While microneedling with Dr. Pen can be safe and effective when done correctly, it’s essential to take certain precautions. Avoid using the device on broken or irritated skin, active acne, or open wounds. Follow the instructions provided by Dr. Pen for proper sterilization and maintenance of the device. If you have any underlying skin conditions or are unsure about using Dr. Pen, consult with a dermatologist or skincare professional before proceeding.
Additional Tips for Successful Microneedling with Dr. Pen
- Stay consistent with your microneedling routine for optimal results. Depending on your skin concerns, it’s recommended to have multiple sessions spaced several weeks apart.
- Use high-quality skincare products, such as serums and moisturizers, before and after microneedling to support skin healing and rejuvenation.
- Practice good skincare habits, including regular cleansing, moisturizing, and sun protection, to maintain the health and integrity of your skin.
- Keep your Dr. Pen device and needle cartridges clean and properly stored to ensure longevity and prevent contamination.
Conclusion
Dr. Pen microneedling offers a convenient and effective way to improve your skin’s appearance and address various skin concerns. By following the proper techniques and guidelines outlined in this guide, you can safely and successfully use Dr. Pen for microneedling treatments at home. Remember to prioritize skin safety, hygiene, and consistent skincare practices to achieve the best results. Incorporate microneedling into your skincare routine and unlock the potential for healthier, smoother, and more radiant skin.
Disclaimer: The information provided in this guide is for educational purposes only and should not replace professional medical advice. Always consult with a dermatologist or skincare professional before starting any new skincare treatments or procedures.


